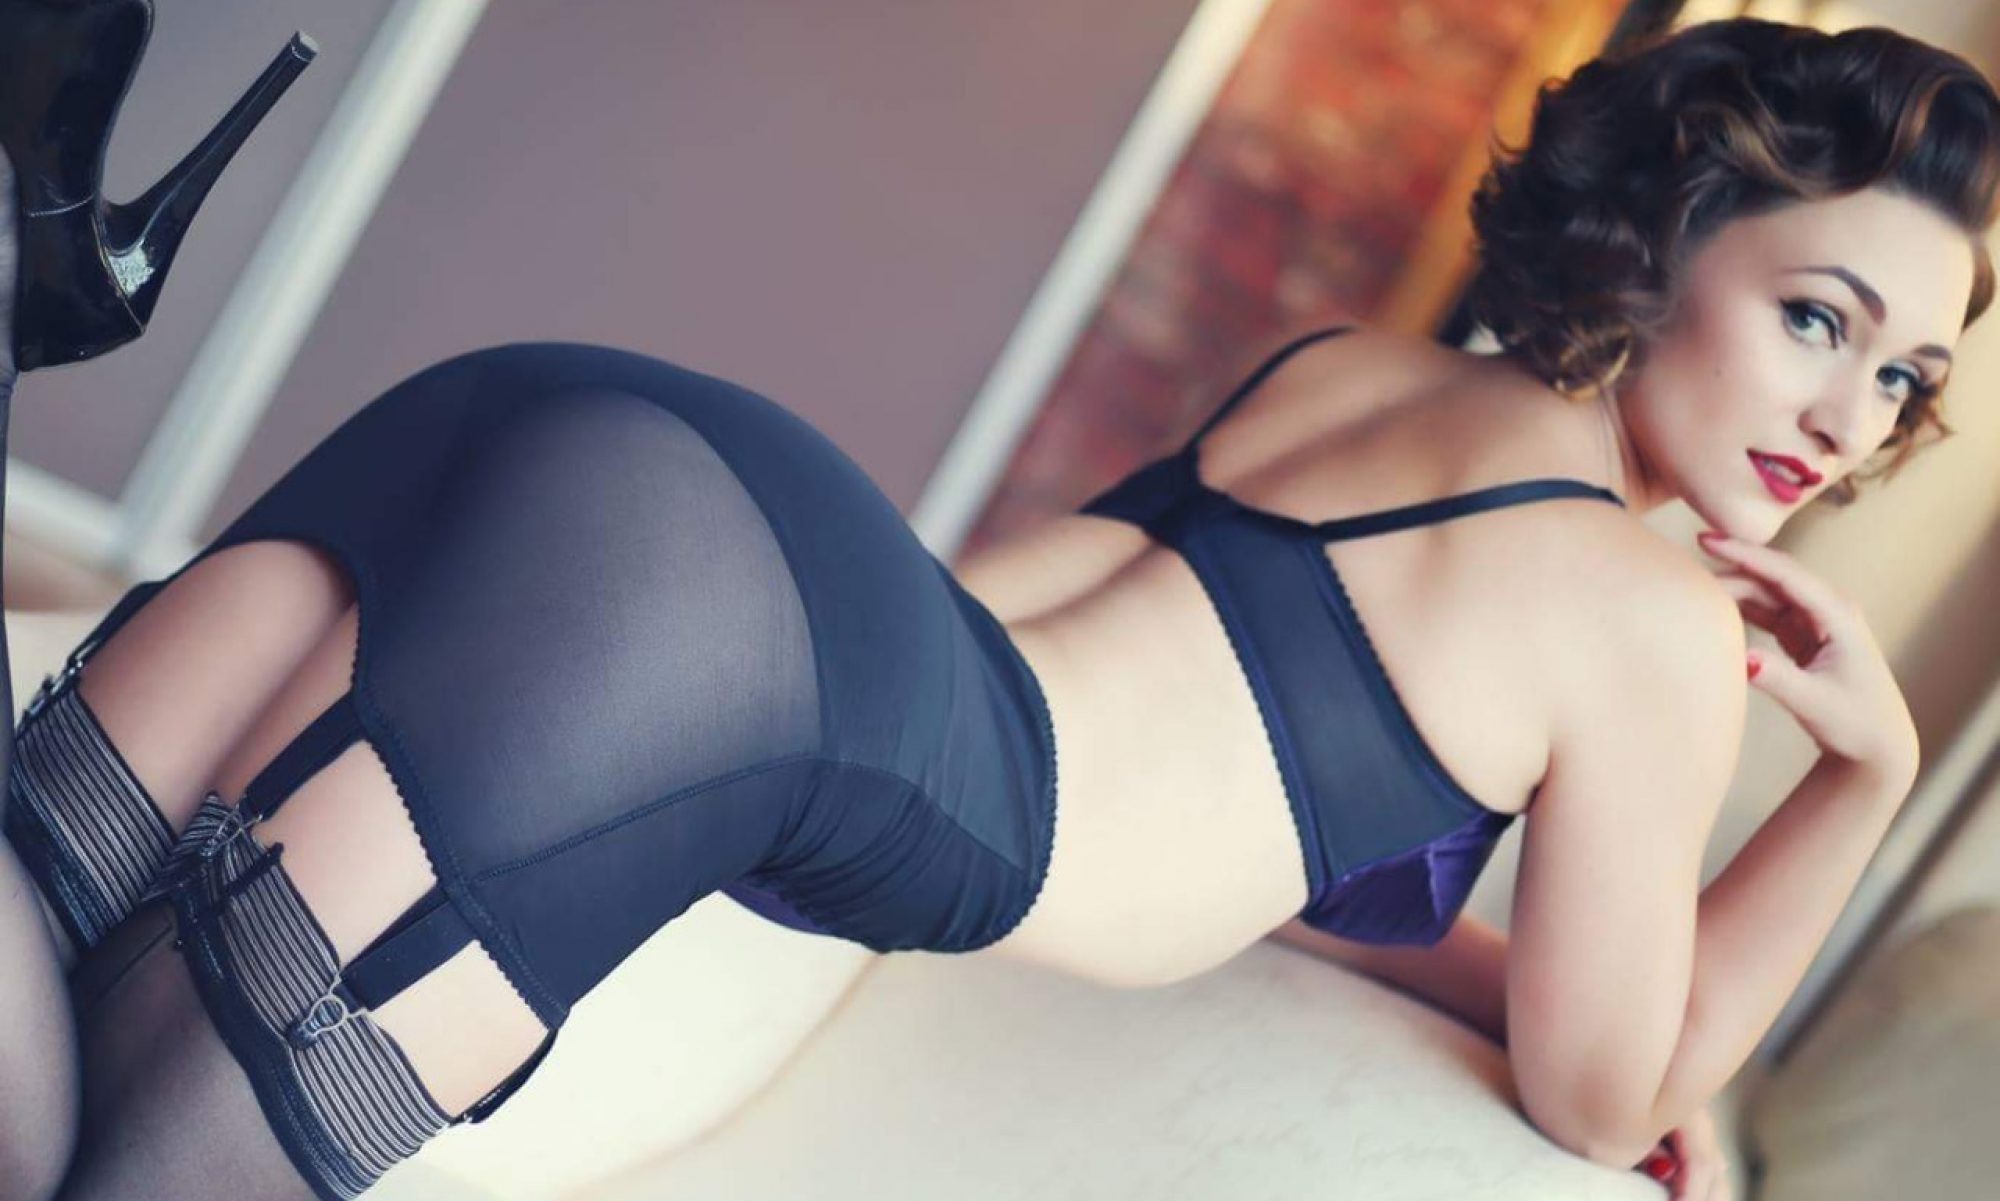
Just as positioning the lights produces a variety of effects, the camera angle (and distance from the subject) can result in effects that are both surprising and can improve your selfie radically.
In a head and shoulder shot, if shot from higher up it exaggerates the size of the eyes and shortens the face a little. Shooting from one side, or slightly to one side, gives the face depth and a little more of a three-dimensional look. A low angle can exaggerate the chin or add chins (urgh). There’s good reason why most selfies are shot from higher than level, and slightly to one side.
If you are able to use a self timer and a tripod, you can shoot full length. You’ll find that shooting from lower down gives the effect of lengthening the leg and making you a bit taller.

Make sure your lens is clean, and if you’re using a tripod or clamp to hold the camera be sure to give yourself plenty of time on the self timer. Don’t know how to find the self timer? Easy – just type the name of your phone or camera into Google and then self timer. It will come up in a moment.
Many cameras and phones have a degree of curvature in the lens. You can see if there’s much curvature in your lens by finding a view of any grid like image and photograph it. Lenses on more expensive cameras are becoming increasingly true. Phones are not always quite so true, though. This can result in some interesting effects. Too close and a profile will result in a larger nose than you’d think. It’s a better idea to shoot from slightly further away and zoom in a little. Using the zoom effect can reduce lens curvature.
Beware of the zoom! The moment you start to use the zoom you increase the risk of camera shake being problematic and can result in a little blur. There’s two ways to combat this. The first is to use a tripod or a clamp to hold the camera or phone steady. The second is a little more tricky. Here’s what you do:
- Change the ISO setting (film speed) to at least 400 but better 800.
- You will find that this makes the shutter speed much faster and as a result most movement is locked solid, though the image will be slightly grainy and lower contrast.
- Add a little flash to freeze the image completely.
As ever, if you don’t know where to find the ISO setting for your particular phone, simply google it. Same with how to turn on the flash. It’s all out there on the net, regardless of the phone or camera.
🙂
Fiona